Working with tags
Explains how tags can be used to restrict and influence where different agents can walk.
Contents
- Introduction
- Examples
- How to apply tags
- How to make agents use tags
- Visualizing tags
- Performance implications
- More control
Introduction
Tagging nodes and regions is a powerful feature. It is used to restrict which agents can walk on what ground, or how costly different types of ground are to walk on for different agents.
Imagine, for example, that you have some critters, a player, and some AIs in your world. Both the AIs and the critters pathfind randomly around in the world, but you wouldn't want the critters to enter houses (they make such a mess). Tagging is a great way to solve this. You can tag all indoor areas with a tag named "Indoors" and make sure no critters can walk on those nodes by changing their pathfinding settings.
Examples
Tags are demonstrated in the following example scenes:
How to apply tags
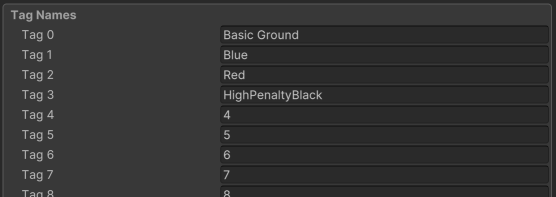
Each node, wheather it is a grid node, a point node, or a navmesh node, has a tag. By default, all nodes have tag 0 (called "Basic Ground", if you haven't changed it).
You can apply tags to nodes in several ways. Here they are listed in rough order of preference:
Using the grid graph rule RulePerLayerModifications, which allows you to apply a tag to ground objects in a specific layer.
Using the recast graph's per layer modifications setting, which allows you to apply tags to objects in specific layers.
Using the recast graph's per terrain layer modifications setting, which allows you to apply tags to specific textures painted on a terrain.
Using the RecastNavmeshModifier component, which allows you to modify the tags of nodes on specific meshes. Only works for recast graphs.
Using the GraphUpdateScene component, which allows you to modify the tags of nodes inside a polygon.
Using the AstarPath.active.UpdateGraphs method, which allows you to modify the tags of nodes in code, similar to how the GraphUpdateScene component works.
Directly modifying the tags of nodes in code, using the GraphNode.Tag property. This is only recommended if none of the other options work well.
Graph Updates during Runtime for more details on how to update graphs.
How to make agents use tags
Agents will, by default, not care about tags. To make them treat different tags in different ways you'll need to to expand the Seeker → Tags foldout, or if you are using the FollowerEntity component: FollowerEntity → Pathfinding → Tags foldout. It looks like this:

Here you can select which tags the agent should be able to traverse, and if they should have any costs associated with them.
If you are using a recast or navmesh graph, the "Cost Per Node" column will be hidden, since it is not particularly useful for those graphs.
The default cost of moving 1 world unit is 1000, so if you want to, for example, make a tag that is 2x or 3x as costly to traverse, you can set the "Cost per world unit" for that tag to 2000 or 3000.
Since these settings are per-agent, you can have different agents traverse the same tags in different ways.
Setting tag preferences in code
If you want to set tag settings for an agent via code, you can use:
Seeker
FollowerEntity
Custom path request
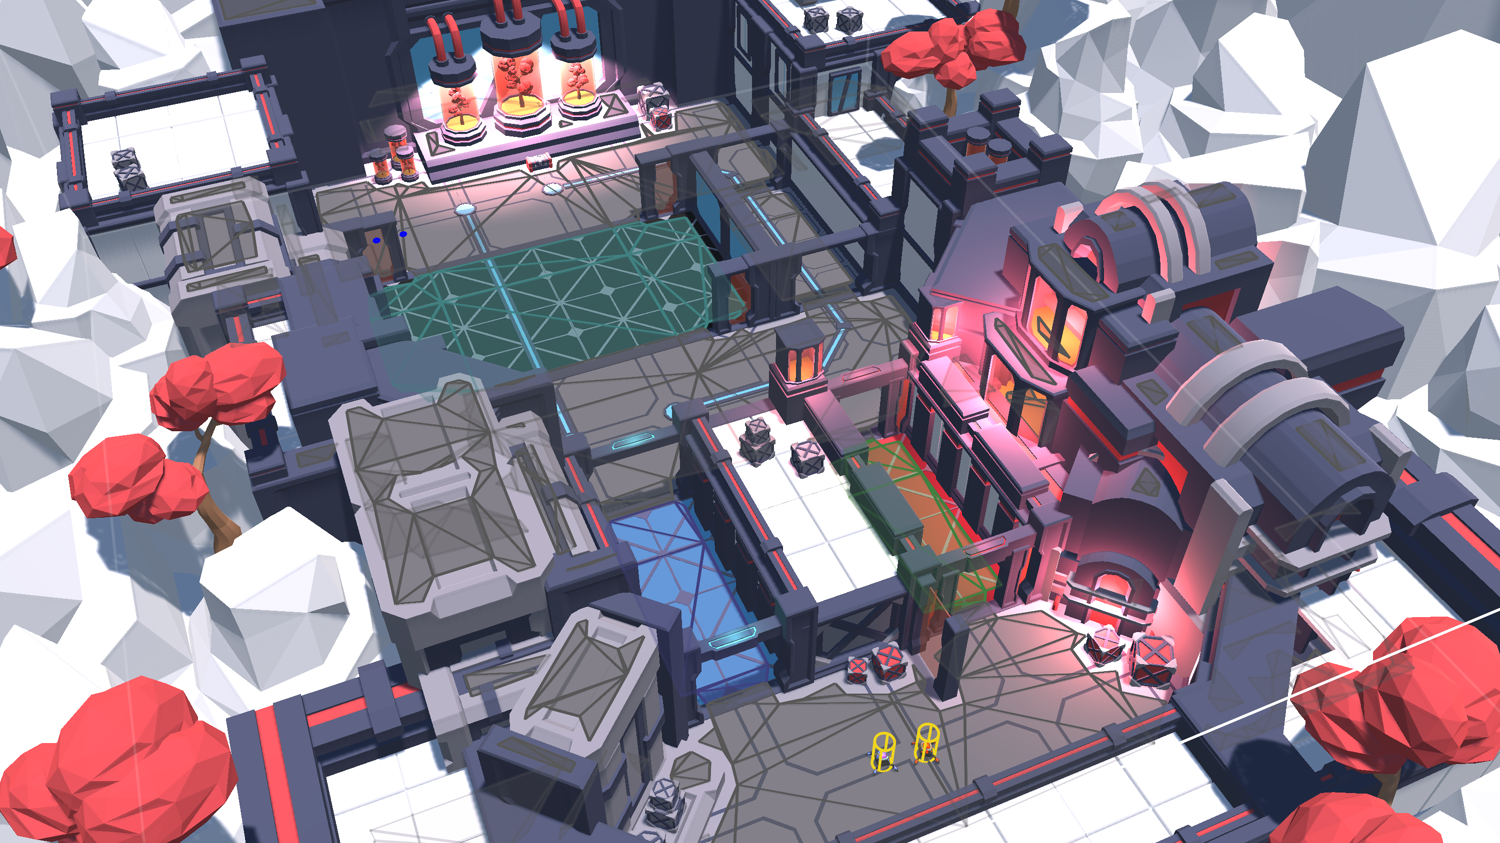
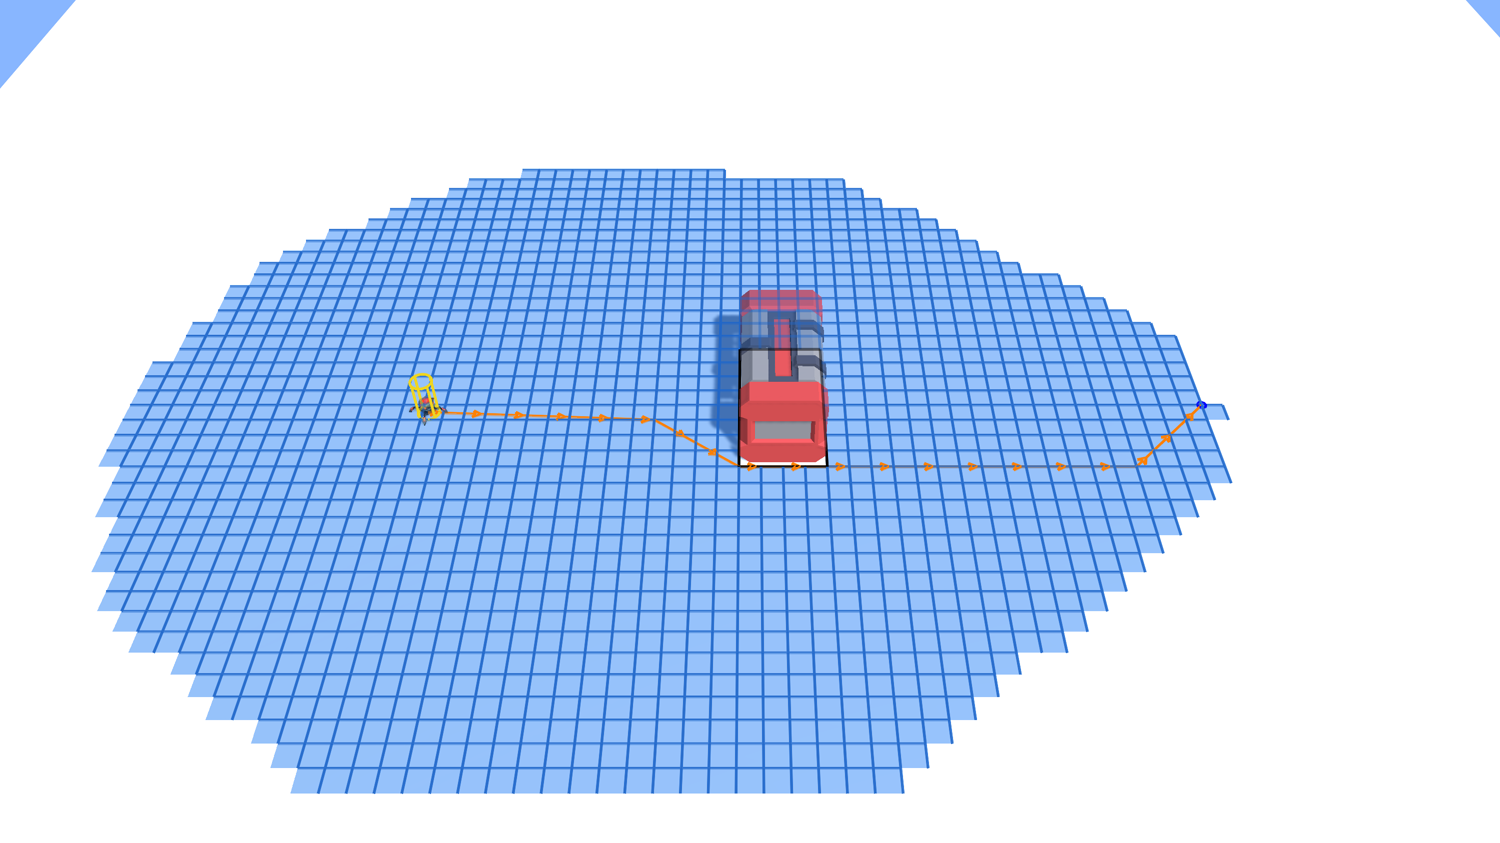
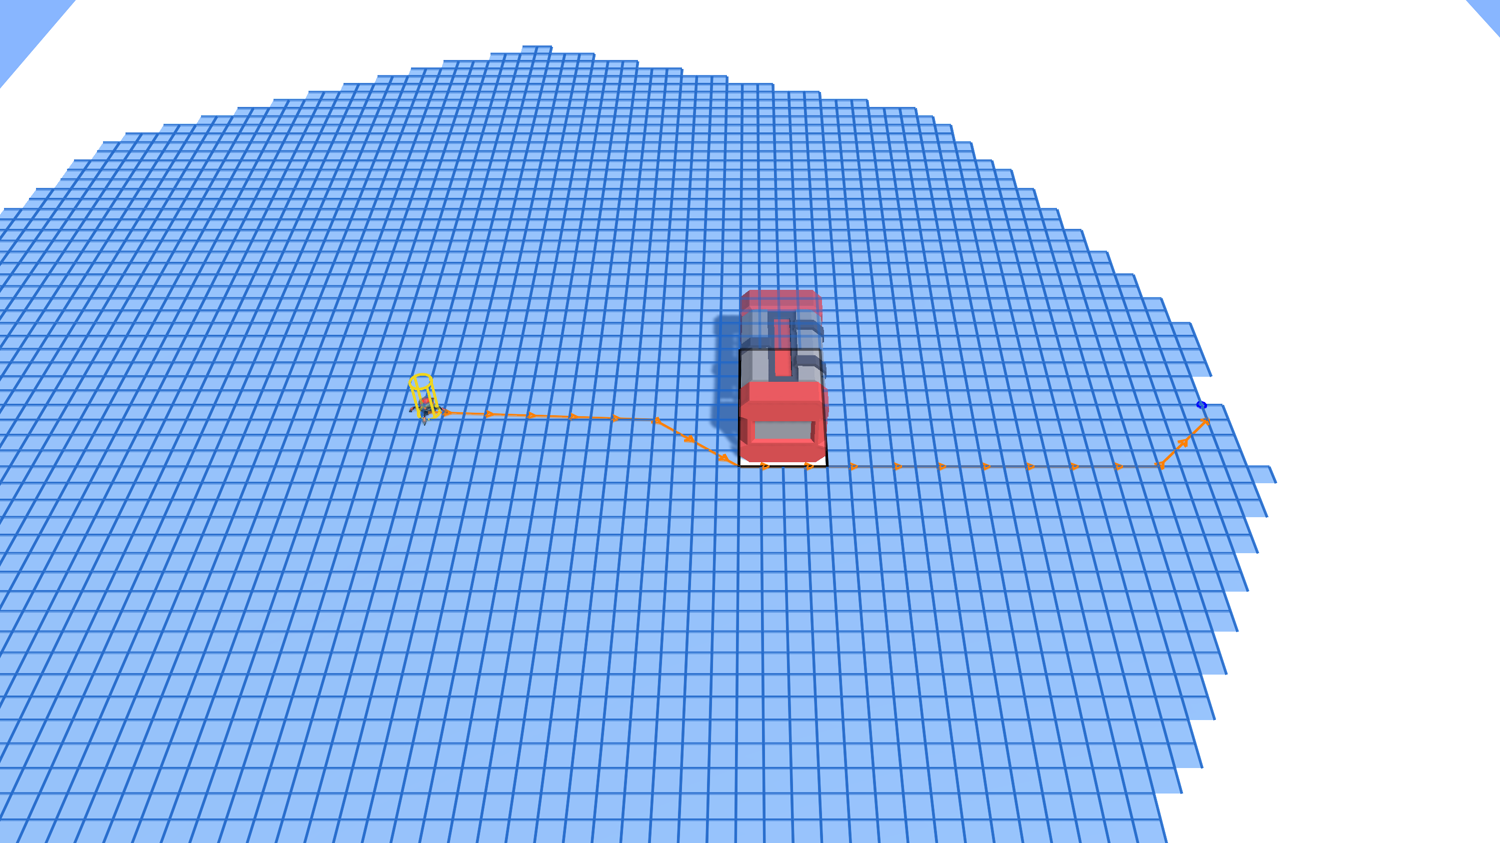
Visualizing tags
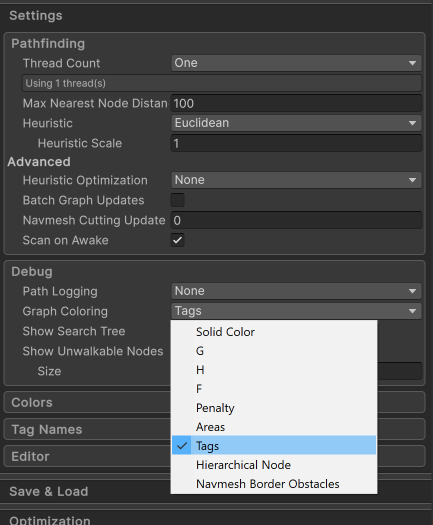
The graph will be colored so that each tag gets a specific color, which allows you to easily see which nodes have which tags.
If you want, you can tweak the tag colors in the A* Inspector → Settings → Colors → Custom Area Colors section.
Performance implications
Using tags typically has a very low performance overhead directly, but it can lead to performance cliffs in some situations.
Separating large regions by non-traversable tags
The package optimizes pathfinding by flood-filling areas of the graph, so that it can very quickly determine if a path exists between two points. This can only be done based on walkability, and not tags, however.
This means that if you have two regions which are separated by a tag that an agent cannot traverse, but everything is otherwise walkable, they will be considered part of the same flood-filling area, or connected component in graph theory terminology. If you try to find a path between two points in those regions, it will, correctly, not be able to find one, but it also cannot prove that no such path exists before it has searched every single node it can reach, and this can take a lot of time for large graphs.
This is why it can sometimes be better to use two (or more) separate graphs instead of using tags.
For example, if you have humans who walk on land, and ships which sail on water, it's much more reasonable to use two separate graphs for them, instead of using tags to restrict the humans to land and the ships to water.
Multiple agent types for more information on how to use multiple graphs for different agent types.
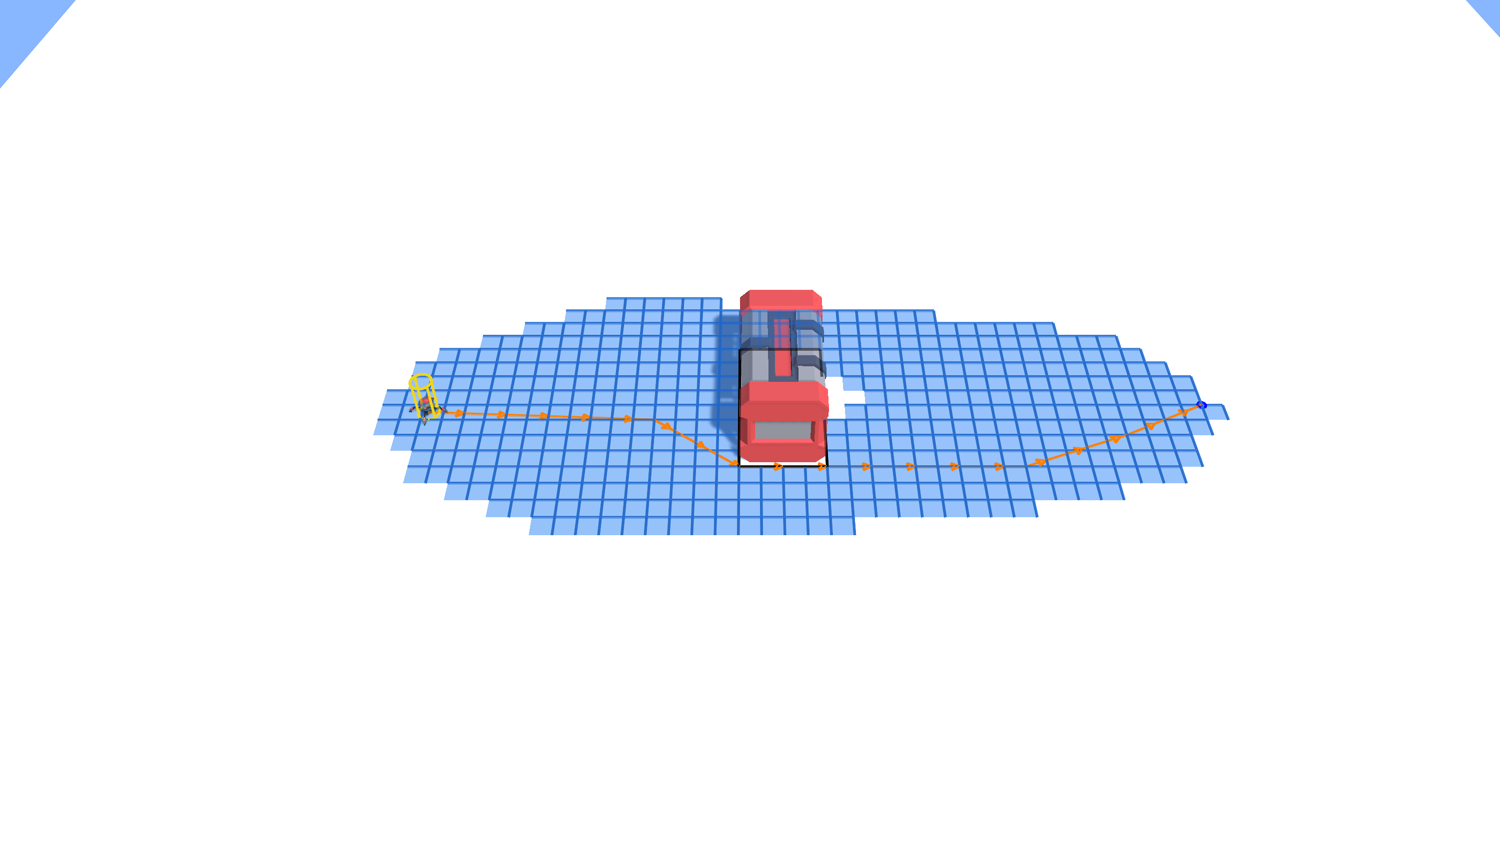
Higher pathfinding cost for larger traversal costs
If you just use tags to apply costs to different areas, then you will not run into to the problem in the previous section. However, the pathfinding search may have to search more nodes when traversing costlier nodes, in order to guarantee an optimal path, which can lead to longer pathfinding times.
You can check how long each pathfinding request takes by setting AstarPath.logPathResults to Normal or higher in the A* Inspector → Settings → Debug section. 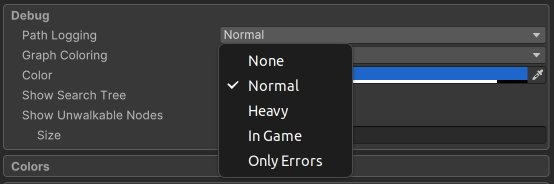
More control
If you feel like tags are a bit limiting, you can instead check out The ITraversalProvider interface, which allows full control over path costs and traversability.