Path Types
Example scene which demonstrates different path types.
Contents
Overview
The scene has a GUI interface on the left side of the screen which allows you to select different path types and see how they behave.
If you enable gizmos in the game view, you should be able to see the graph and the paths that are being calculated.
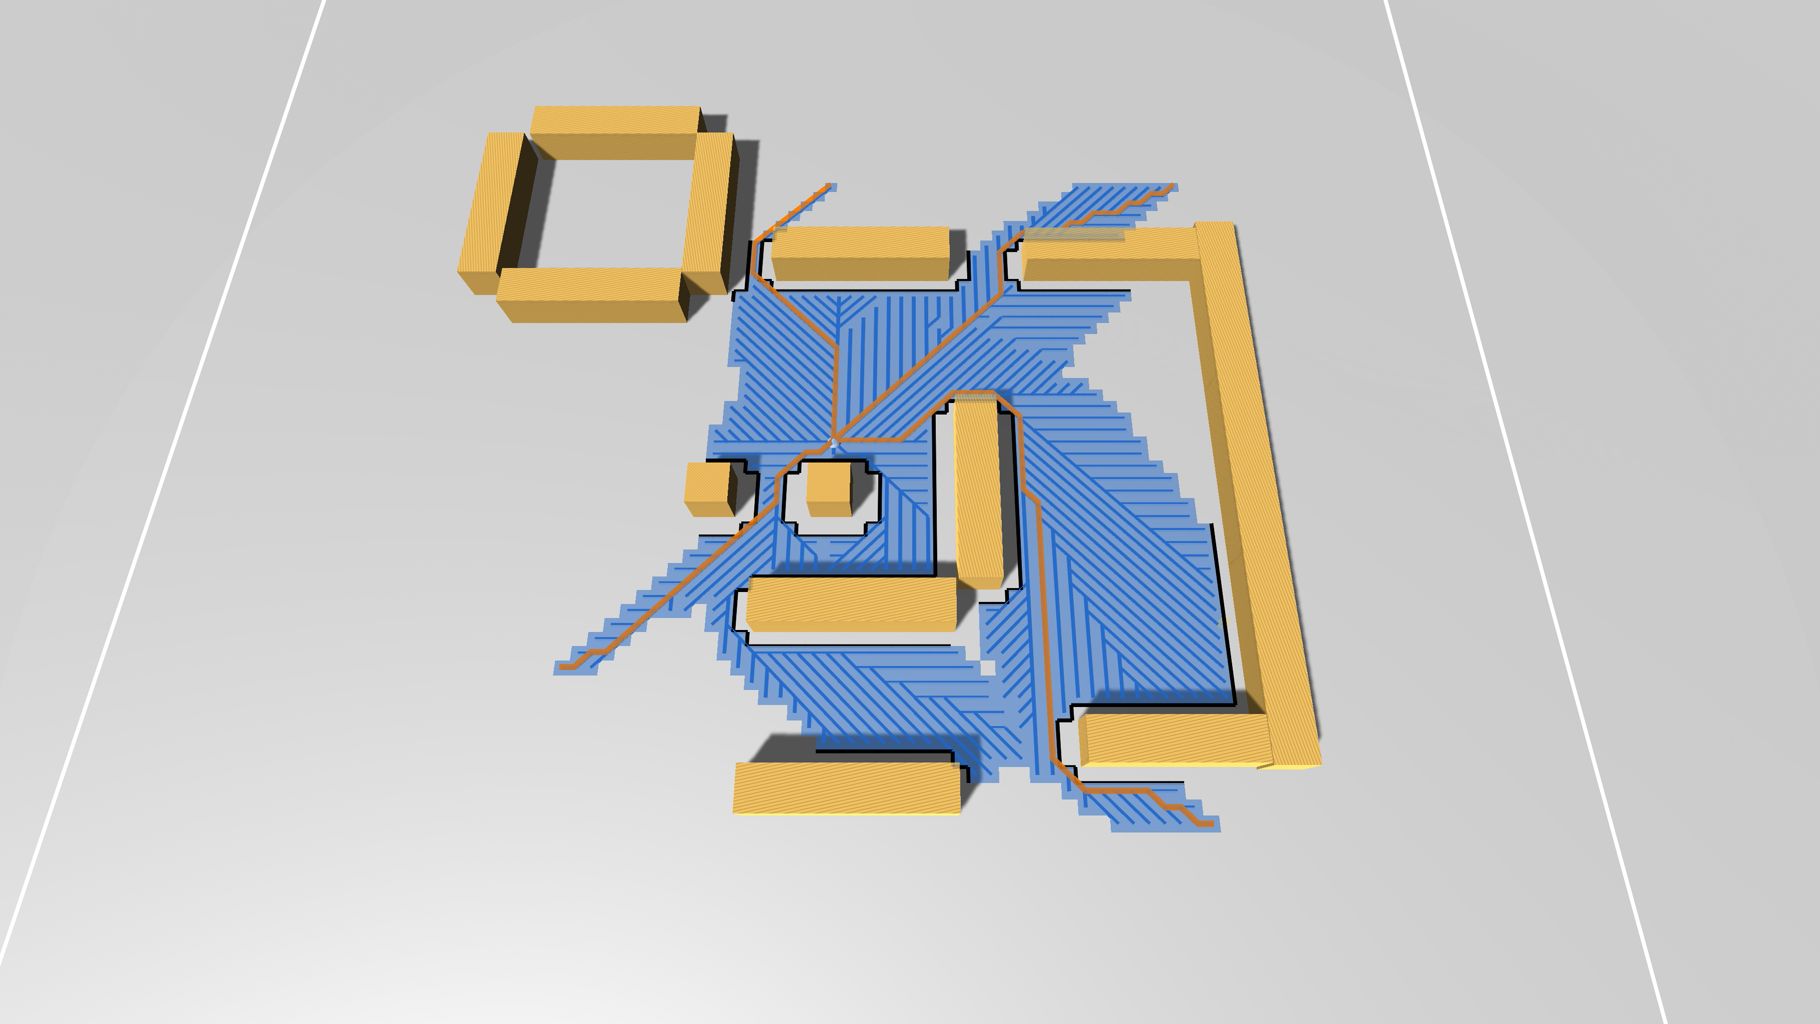
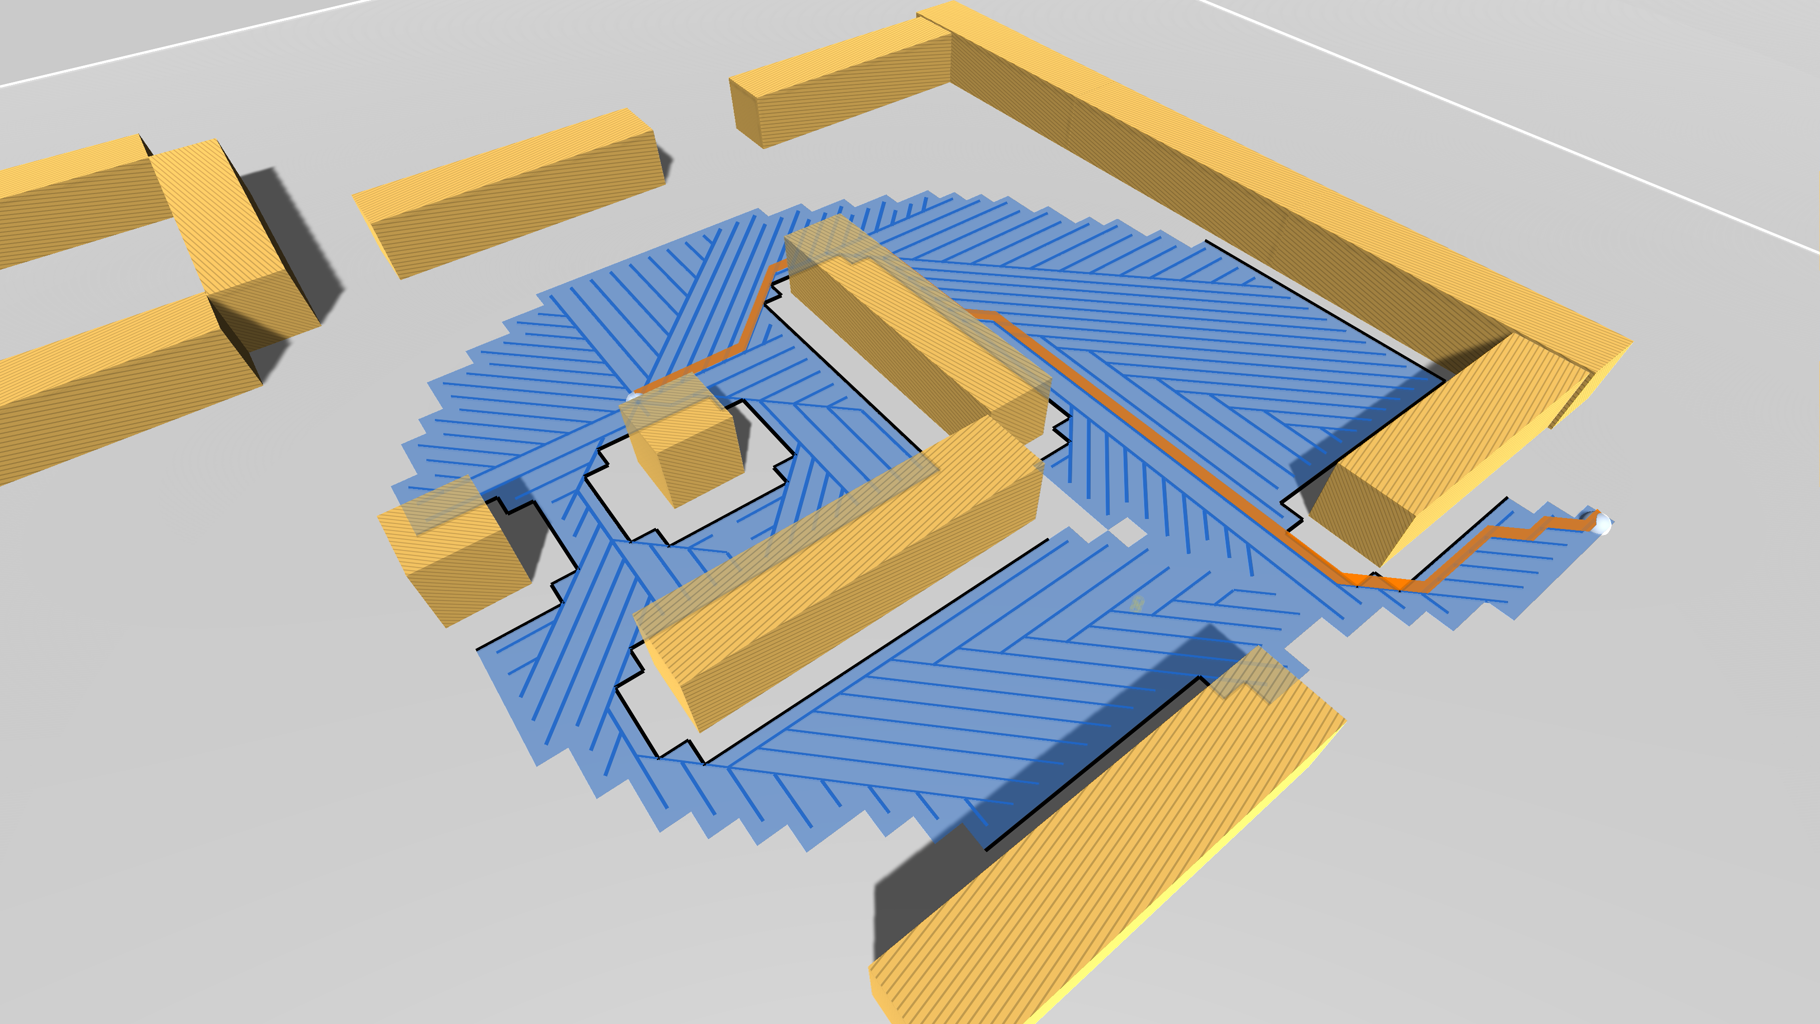
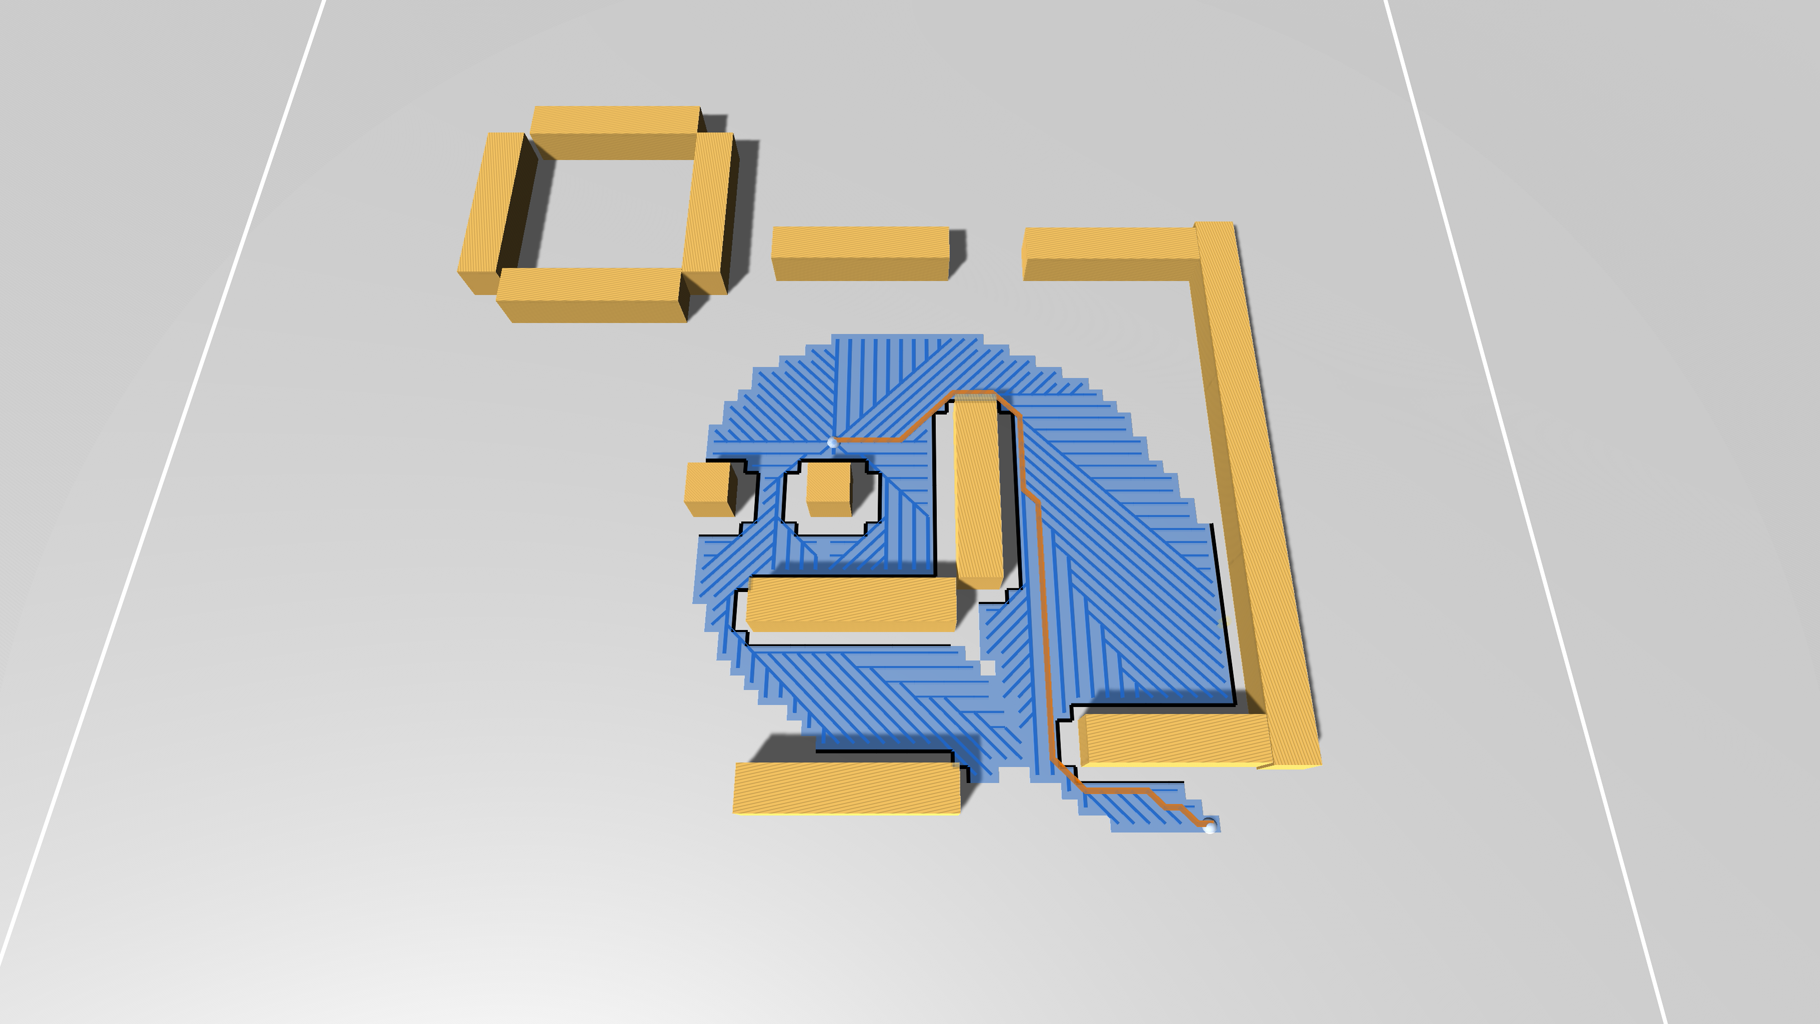
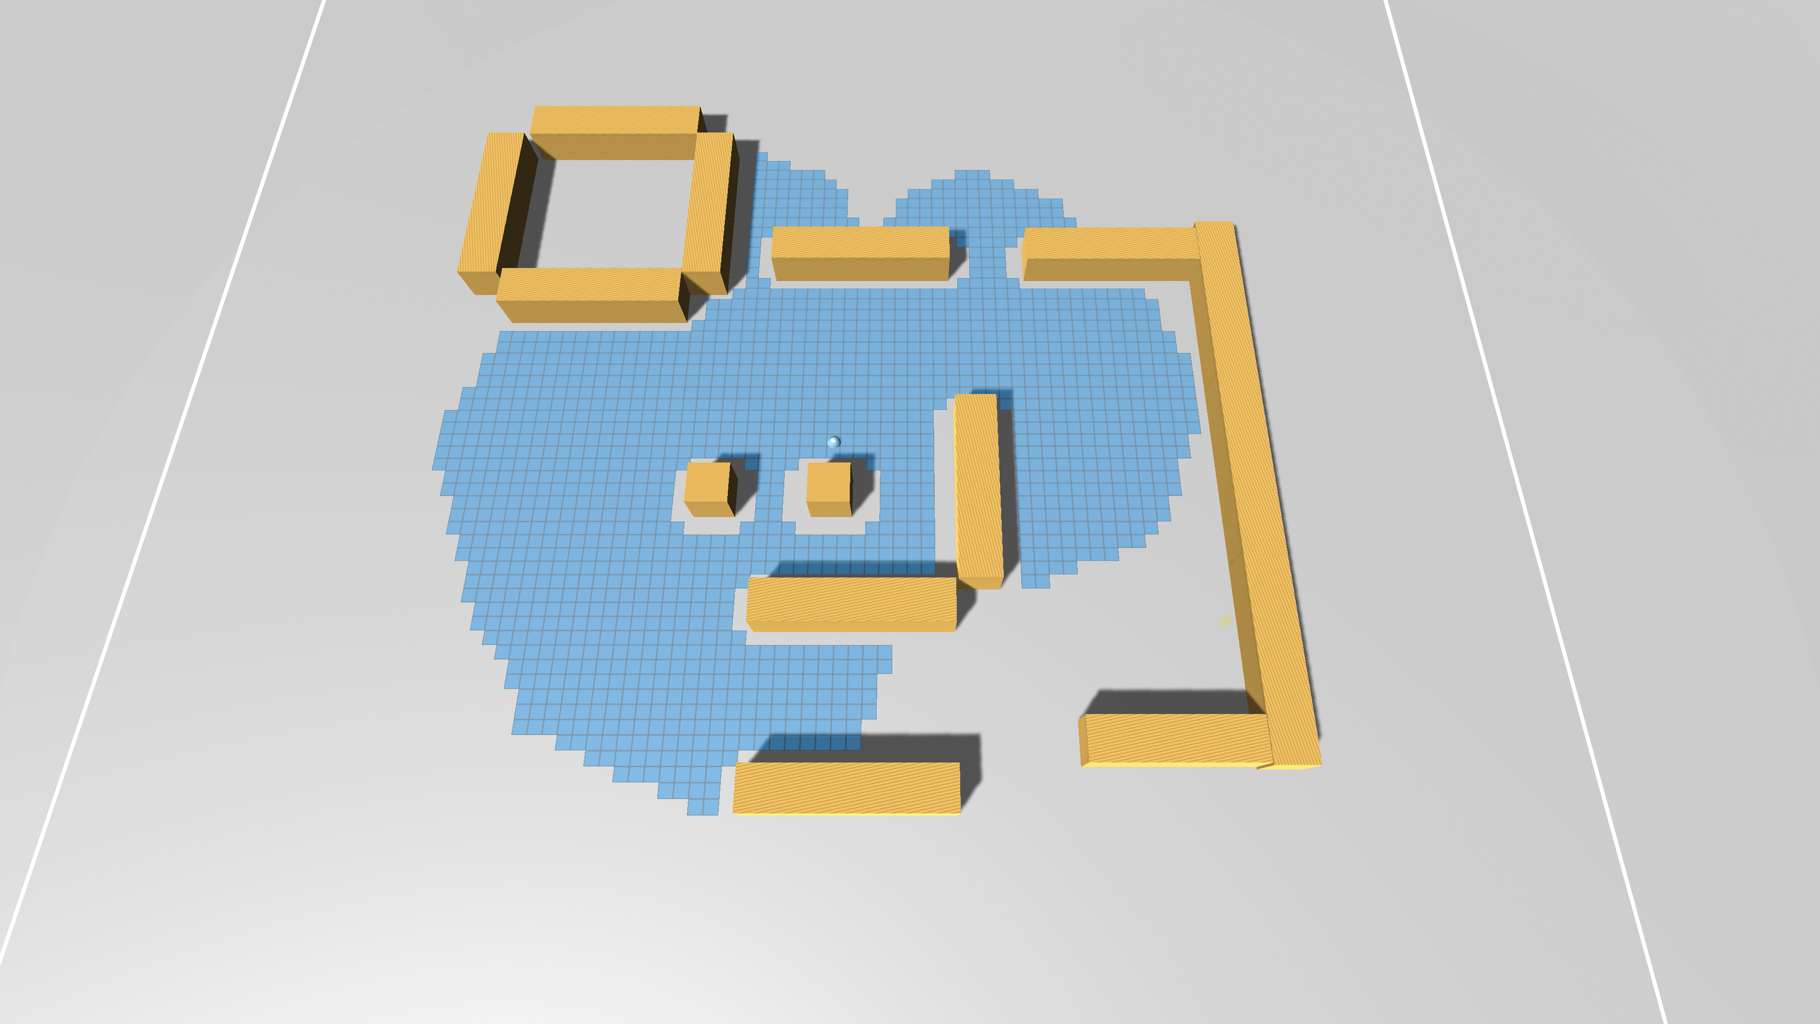
The AstarPath component is setup to visualize the path search. After a path has been calculated, all searched nodes will be highlighted in blue. The paths themselves will be drawn in orange. As thin blue lines you can also see the search tree. All of these lines converge on the start node, and they show the shortest path from the start node to all other nodes that were searched. This is done by setting A* Inspector -> Settings -> Debug -> Show Search Tree to true, and ensuring that the grid graph has the "Show Connections" option enabled.
See
You can read more about how to calculate different types of Path Types in Searching for paths.
Graph setup

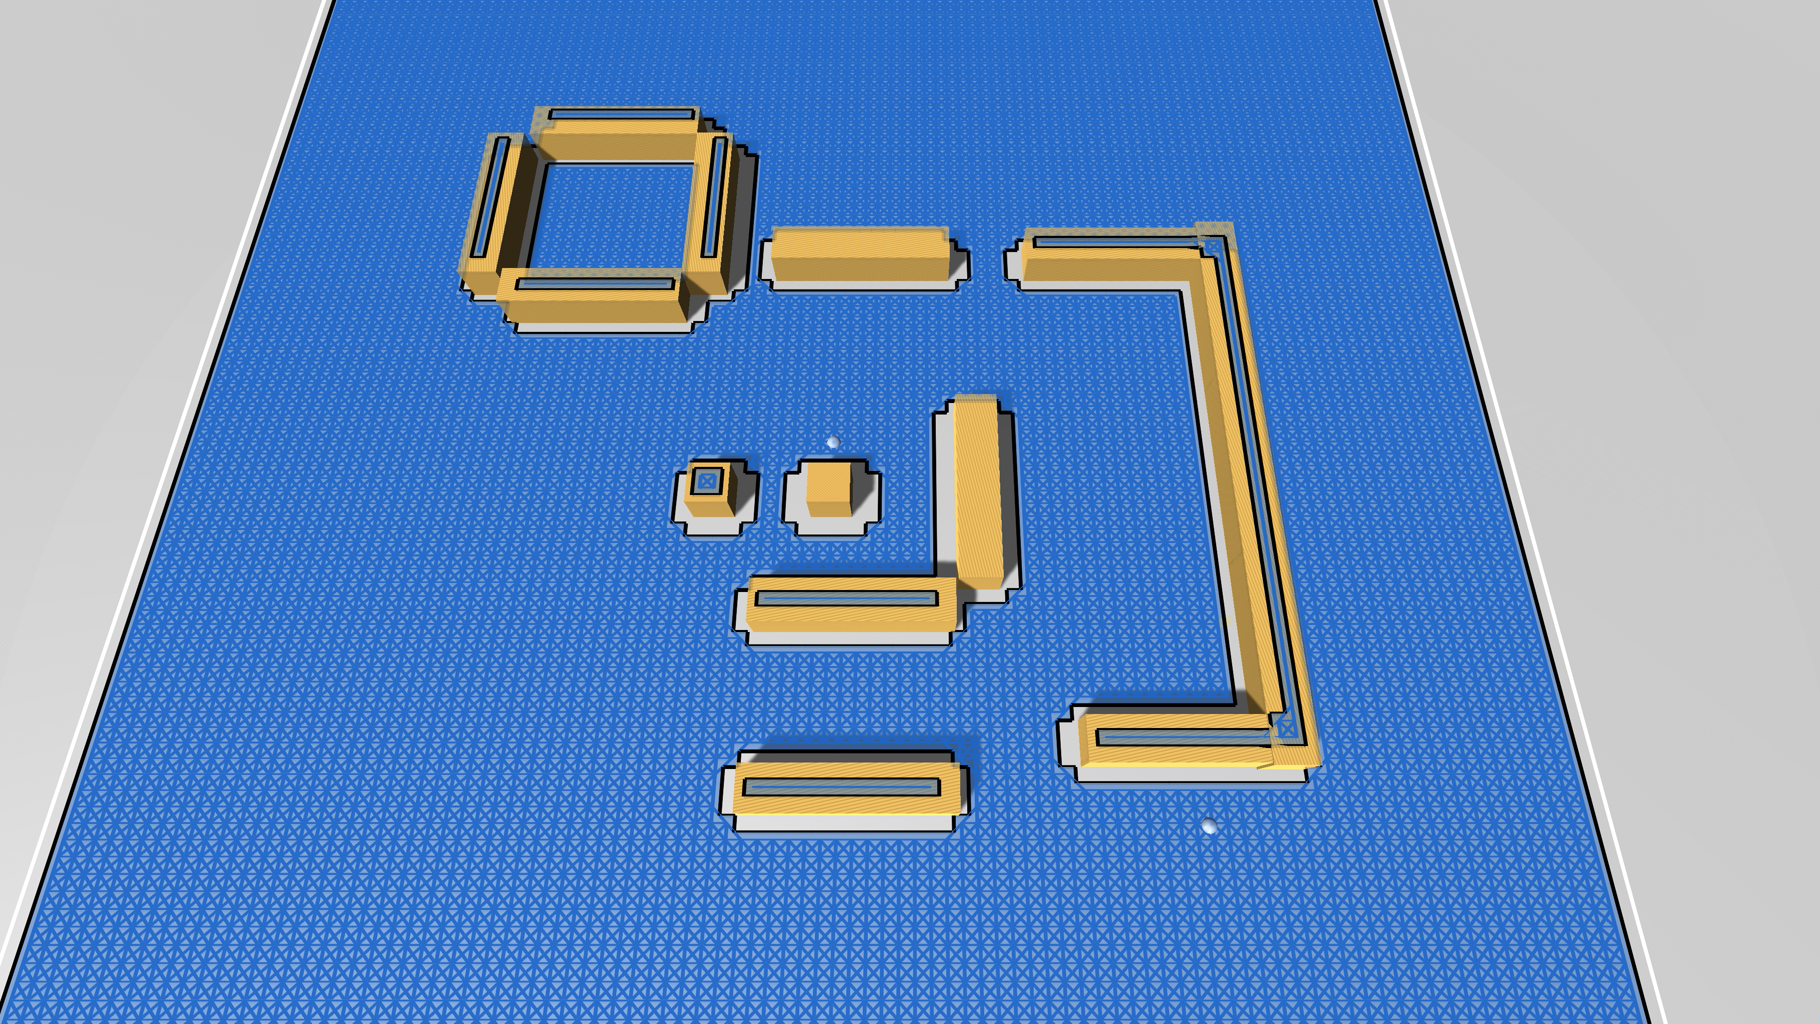
This example scene uses a grid graph for illustration purposes. Any other graph type could have been used, but grid graphs are usually the easiest to understand and reason about when it comes to the path visualizations.
All path types shown here are supported on all graph types, but the RandomPath and FleePath path types work better on grid graphs than navmesh/recast graphs, due to their higher granularity.
Path types
The scene demonstrates the following path types.
ABPath
This is the most common path type. It is used for point to point movement. It is used by default by all movement scripts.
If you hold down the left mouse button in the game, you can see how the path is recalculated as you move the mouse around.
Note
The path visualization may flicker a lot while you do this. This is because the path is recalculated asynchronously on a separate thread, and when the gizmos are drawn, the path may still be in the process of being calculated. This is nothing to worry about. If you release the mouse button, the visualization will stabilize.
See
MultiTargetPath
A multi-target path can be used in two scenarios:
You want to find the shortest paths from a single point to a number of other points, or from many points to a single target.
You want to find the path to the closest target out of a collection of them.
You can switch between these two modes in the in-game GUI with the toggle "Only Shortest Path".
In the image above, a single MultiTargetPath has been calculated from the center to 4 different targets. Calculating all 4 paths at the same time is faster than calculating them one by one. This is especially true if you have many targets, or if the targets are close to each other, as the paths will share a large part of the searched nodes.
To test it in the example scene, use shift+click to add targets to the path, and then left-click to calculate the path.
See
RandomPath
A random path is useful for wandering agents, and possibly for procedurally generating world features.
The random path will search outwards from its start point and will pick a target node with a path cost somewhere between [search distance] and [search distance] + [spread], which you can configure in the GUI. You can also specify an aim strength which will make the path more likely to move towards the end point (specified by the cursor).
See
FleePath
This is essentially the same as a RandomPath, but the path will try to move away from the end point instead of towards it.
Make sure to use a flee strength greater than zero, to make the path move away from the cursor.
See
ConstantPath
The constant path does not calculate a path, instead it finds all nodes an agent could reach given a maximum path cost.
This is useful, for example, in turn-based games, where you may want to visualize all nodes an agent can reach on their turn.
You can get the output nodes from the ConstantPath.allNodes field. These are also sorted by their cost from the starting node. However, it is not possible to directly access the costs, as they are not saved by this path type.
// Here you create a new path and set how far it should search.
ConstantPath cpath = ConstantPath.Construct(transform.position, 20000, null);
AstarPath.StartPath(cpath);

// Block until the path has been calculated. You can also calculate it asynchronously
// by providing a callback in the constructor above.
cpath.BlockUntilCalculated();

// Draw a line upwards from all nodes within range
for (int i = 0; i < cpath.allNodes.Count; i++) {
    Debug.DrawRay((Vector3)cpath.allNodes[i].position, Vector3.up, Color.red, 2f);
}
See
PathUtilities.BFS works in a similar way, but it does not use path costs, it only uses the number of steps to reach a node.
FloodPath and FloodPathTracer
The FloodPath is a bit special, because it does not do anything useful by itself. What it does is that it calculates paths to all nodes it can reach, it floods the graph. This data will remain stored in the path. Then you can calculate a FloodPathTracer path. That path will trace the path from its starting point all the way to where the original FloodPath started. A FloodPathTracer search is extremely fast compared to a normal path request.
To test it in the example scene:
Select the FloodPath mode
Click where you want the FloodPath to start
Select the FloodPathTracer mode
Click and hold to calculate paths from the cursor to the start point of the FloodPath
You can check the console to see how long the FloodPathTracer took to calculate. It should be very fast compared to the ABPath.
This path type can be useful in games where you spawn a lot of agents, and they all have to move to the same target (e.g. a tower-defence game).